Thursday, January 12, 2017

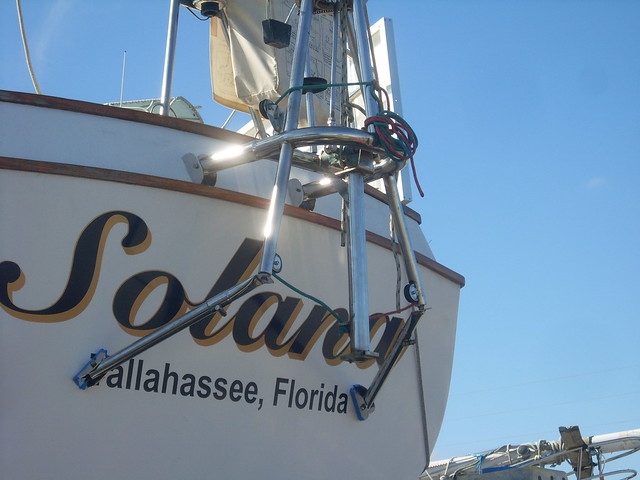
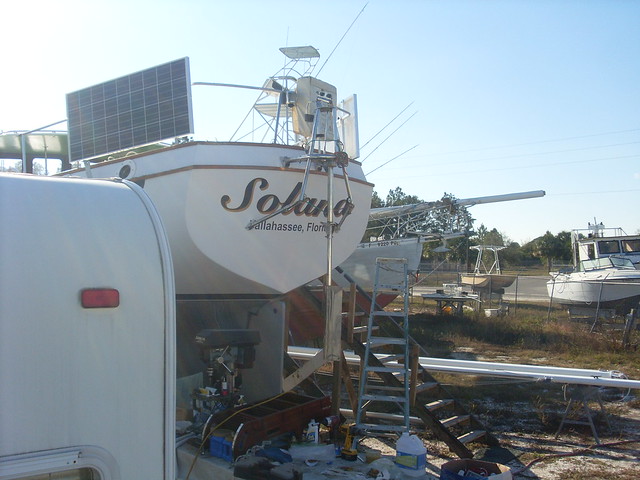
Monitor wind vane Installed

Needed some work. 40 year old wind vane. Just needed some rebuilding.

SL383109

SL383111

SL383115

Seat Redo 2

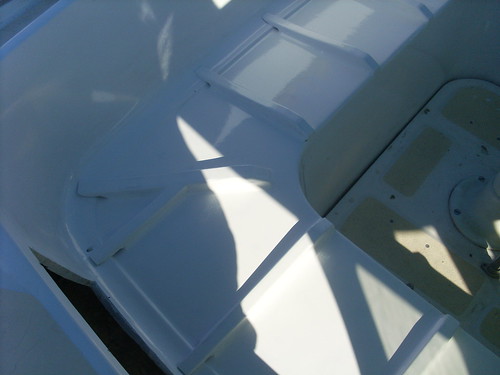
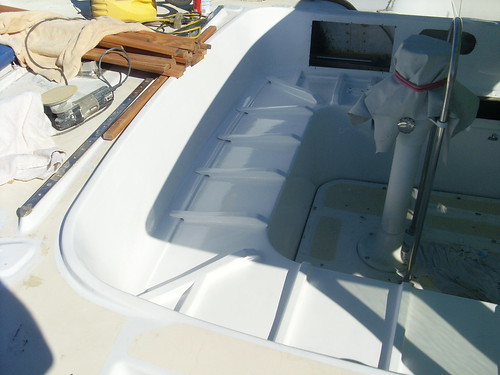
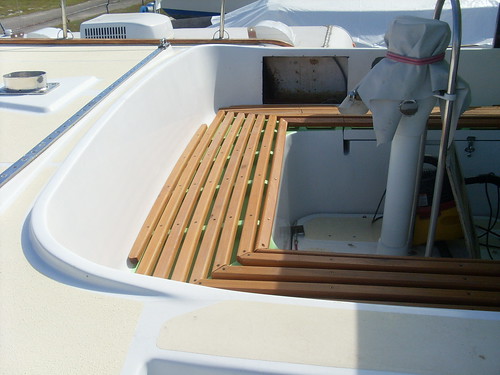
I riped up the teak I had put down for the cockpit seats. They where coming off anyway. I had a better idea of not setting in a puddle no matter how many drains there are. I hope the pictures work, as Google decided to kill Picasa. Why? It was great. It's also why all the links to my other pictures no longer work.

Anyway here are some pics I manged to take.

Turns out to be very comfortable from the shape added to the risers.

10-16CSeats3

10-16CSeats2


10-16CSeats4

Wednesday, July 27, 2016

The Hard Top / Hard Dodger. *Part 3*

So I have finally finished the bottom of the hardtop. I have painted and set all the
Polycarbonate glass in place. No pics of the process. I built it all from scratch. I made patterns for all the glass and frames for the glass.

 
From Hardtop2


From Hardtop2


Now I have to finish the top. More glass, then paint.

From Hardtop2


Thursday, July 21, 2016

The Hard Top / Hard Dodger. *Part 2*

So now we have the top up on the boat. I built an adjustable jig to hold it so I could get the right height and location. Here are some pics with the process of fitting the top to the bottom rail I had made earlier.

By the way, this was the most difficult part.

From Update_July 20, 2016


From Update_July 20, 2016


Starting to look good. I think.

From Update_July 20, 2016


Looking lean and mean.
Dirty boat.

From Update_July 20, 2016


Ok now we have it together (barely). So let's lift it off and to the ground.

From Update_July 20, 2016


From Update_July 20, 2016

From Update_July 20, 2016


On the work horses for final assembly and finishing.

From Update_July 20, 2016


The Hard Top / Hard Dodger. *Part 1*

So here we go. This was spread over about a year. First I made the actual top piece, then the bottom rail was made right on the boat. Then I built the gantry crane to set the top piece up there and join the two together.

I started with a table to make the mahogany ribs that are internal to the top.

Made with OSB, filled with thickened epoxy, sanded, then clear coated with epoxy again to give a nice smooth surface then waxed about 8 times so the glue would not stick to the form.

From Update_July 20, 2016


From Update_July 20, 2016


From Update_July 20, 2016


From Update_July 20, 2016


From Update_July 20, 2016


Next a large form was made that matched the same curve as the ribs. I did not take pics of that part. I have a few of the actual glue up of the top piece.

From Update_July 20, 2016


From Update_July 20, 2016


There is a layer of 1/4" luan on top and bottom. Mahogany ribs with 1/2"foam panel between them with solid Mahogany about a foot around the edges.

I used plastic nails to nail the first layer to the form. This allowed easy removal and sanding. I used a cheap Harbor Freight 18Ga. nail gun. Worked great and saved about $300 from buying a Italian gun made for them.

Later I cut it to shape and glassed it top and bottom.
 
From July 21, 2016


From July 21, 2016


Wednesday, July 20, 2016

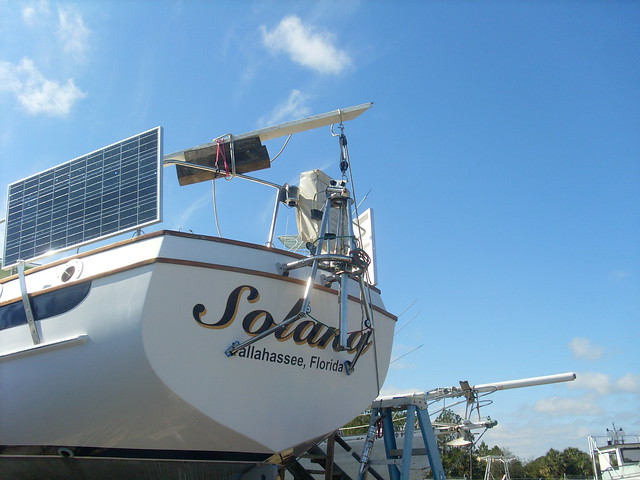
Name on the boat.

A week left to take it to the marina. 10 years of work nearly done. Got the name on today. I will also post some info on the hard top/dodger that I designed and built.

From Update_July 20, 2016


From Update_July 20, 2016


From Update_July 20, 2016


It means "Sunshine" in Spanish.

Adding a wheel to the dinghy.

Wouldn't it be nice to just wheel your dinghy down to the beach or up the beach? I got the idea from Harry Bryan in Canada.
http://www.harrybryan.com/harrybryan/

Some Pics of what I did.

From Update_July 20, 2016


From Update_July 20, 2016


From Update_July 20, 2016


Installed. I had to cut a hole in the boat and build a well for it. Not hard and no
maintenance issuses with the 1" stainless tube and plastic parts. 

From Update_July 20, 2016